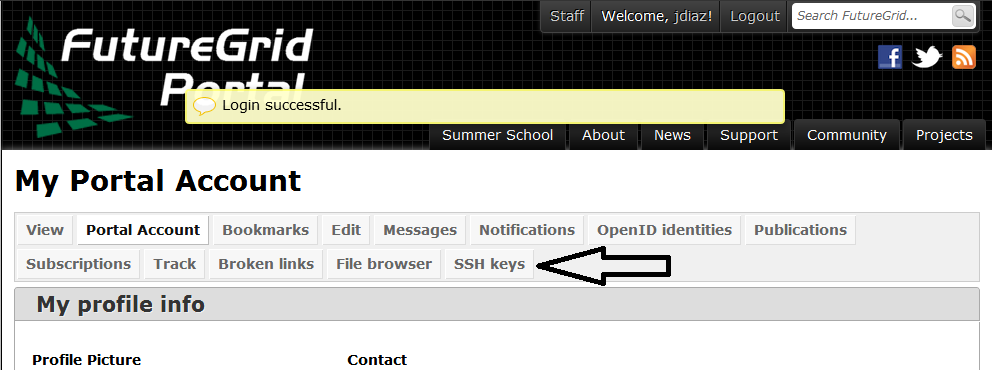
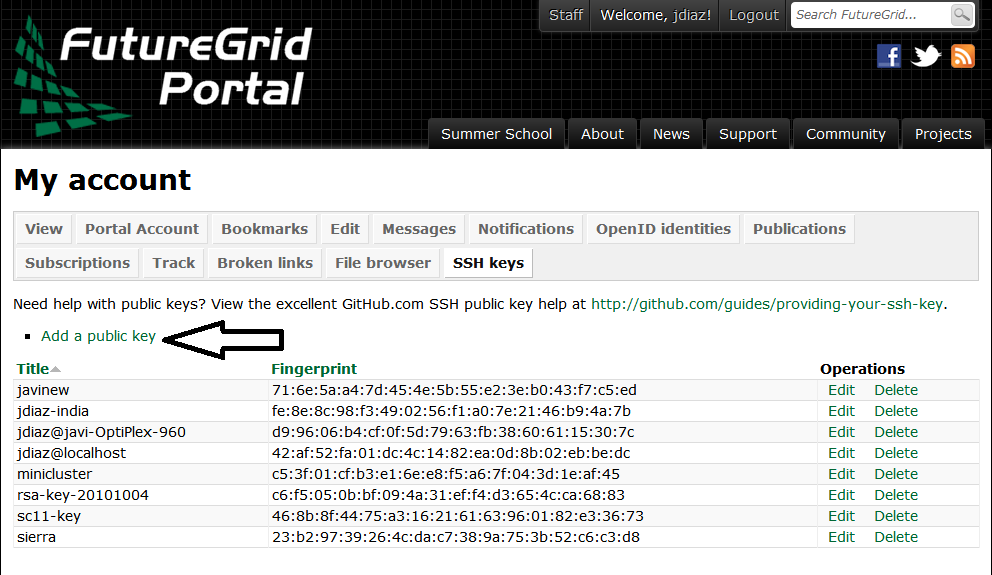
2.2. Using SSH Keys
To access the various FutureGrid resources, you need to provide a public
ssh key to FutureGrid. We explain how to generate a ssh
key, upload it to the FutureGrid portal and log onto the resources. This
manual covers both UNIX and Windows Users.
Windows users need to have some special software to be able to use the
SSH commands. If you have one that you are comfortable with and know
how to setup key pairs and access the contents of your public key,
please feel free to use it.
The most popular software making ssh clients available to Windows
users include
For a real quick start we recommend you use Cygwin (Linux-like environment for Windows)
because it will ease your experience with FutureGrid and provide you
with a command shell that is Linux like. If you have cygwin already
installed, please use it, but make sure you have ssh installed. If
not, we have made it even easier for you as we prepared a special
Cygwin version that is ready to use. Once you have installed it, you
can follow the same instructions as given in the rest of the sections
presented to access FutureGrid from ssh. You can install cygwin it with the
following simple steps.
| Step |
Description |
Supporting Screenshot |
|---|
| Step 1 |
Download Cygwin from our Portal https://portal.futuregrid.org/sites/default/files/cygwin.zip. |
|
| Step 2 |
Uncompress the file. |
 |
| Step 3 |
Execute the file the ‘Windows Batch File’ called Cygwin.bat |
|
| Step 4 |
You may get a warning. Click on the Run button |
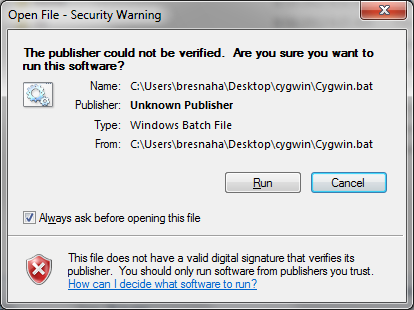 |
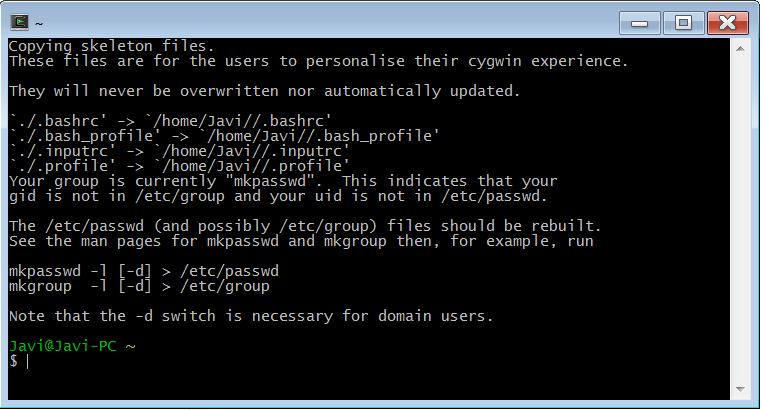
| Step 5 |
You get a Linux-like terminal that will allow you to continue
with this manual. Hint: When showing examples of commands, the $ symbol precedes the
actual command. So, the other lines are the output obtained after
executing the command. |
 |
First we must generate a ssh key with the tool ssh-keygen. This program is commonly
available on most UNIX systems (this includes Cygwin if you installed
the ssh module or use our pre-generated cygwin executable). It will
ask you for the location and name of the new key. It will also ask you
for a passphrase, which you MUST provide. Some teachers and teaching
assistants advice you to not use passphrases. This is WRONG as it
allows someone that gains access to your computer to also gain access to
all resources that have the public key. Also, please use a strong passphrase
to protect it appropriately.
In case you already have a ssh key in your machine, you can reuse it and skip this whole section.
To generate the key, please type:
Example:
ssh-keygen -t rsa -C localname@indiana.edu
This command requires the interaction of the user. The first question is:
Enter file in which to save the key (/home/localname/.ssh/id_rsa):
We recommend using the default location ~/.ssh/ and the default name id_rsa.
To do so, just press the enter key.
The second and third question is to protect your ssh key with a
passphrase. This passphrase will protect your key because you need to
type it when you want to use it. Thus, you can either type a
passphrase or press enter to leave it without passphrase. To avoid
security problems, you MUST chose a passphrase. Make sure to not
just type return for an empty passphrase:
Enter passphrase (empty for no passphrase):
and:
Enter same passphrase again:
If executed correctly, you will see some output similar to:
Generating public/private rsa key pair.
Enter file in which to save the key (/home/localname/.ssh/id_rsa):
Enter passphrase (empty for no passphrase):
Enter same passphrase again:
Your identification has been saved in /home/localname/.ssh/id_rsa.
Your public key has been saved in /home/localname/.ssh/id_rsa.pub.
The key fingerprint is:
34:87:67:ea:c2:49:ee:c2:81:d2:10:84:b1:3e:05:59 localname@indiana.edu
The key's random art image is::

+--[ RSA 2048]----+
|.+...Eo= .       |
| ..=.o + o +o    |
|O.  o o +.o      |
| = .   . .       |
+-----------------+
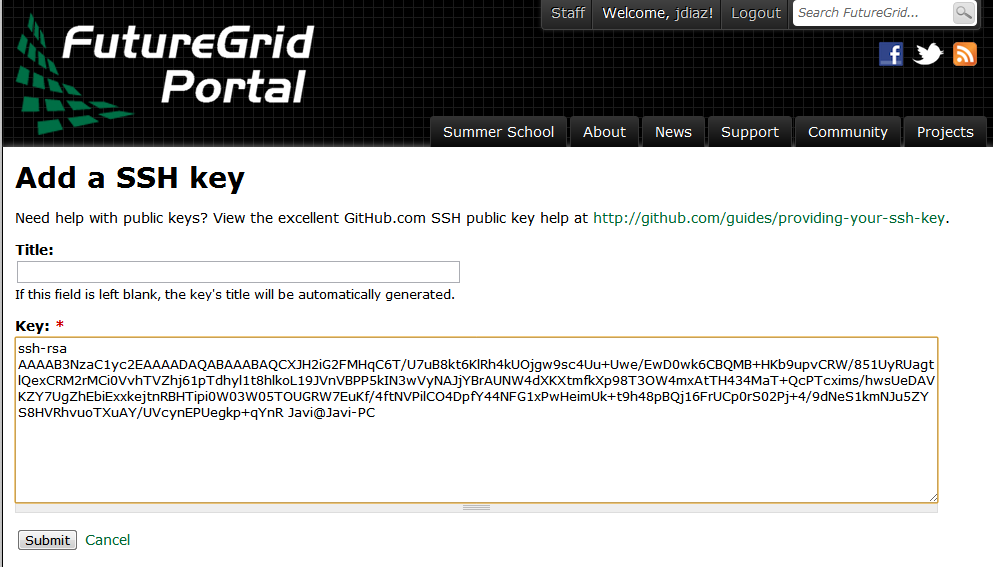
Once, you have generated your key, you should have them in the .ssh
directory. You can check it by
If everything is normal, you will see something like:
ssh-rsa AAAAB3NzaC1yc2EAAAADAQABAAABAQCXJH2iG2FMHqC6T/U7uB8kt6KlRh4kUOjgw9sc4Uu+Uwe/EwD0wk6CBQMB+HKb9upvCRW/851UyRUagtlhgythkoamyi0VvhTVZhj61pTdhyl1t8hlkoL19JVnVBPP5kIN3wVyNAJjYBrAUNW4dXKXtmfkXp98T3OW4mxAtTH434MaT+QcPTcxims/hwsUeDAVKZY7UgZhEbiExxkejtnRBHTipi0W03W05TOUGRW7EuKf/4ftNVPilCO4DpfY44NFG1xPwHeimUk+t9h48pBQj16FrUCp0rS02Pj+4/9dNeS1kmNJu5ZYS8HVRhvuoTXuAY/UVcynEPUegkp+qYnR user@myemail.edu
In case you need to change your change passphrase, you can simply run
“ssh-keygen -p” command. Then specify the location of your current key,
and input (old and) new passphrases. There is no need to re-generate
keys:
You will see the following output once you have completed that step:
Enter file in which the key is (/home/localname/.ssh/id_rsa):
Enter old passphrase:
Key has comment '/home/localname/.ssh/id_rsa'
Enter new passphrase (empty for no passphrase):
Enter same passphrase again:
Your identification has been saved with the new passphrase.
If you have had no FutureGrid
account before, you need to wait for up to two business days so we
can verify your identity and create the account. So please wait.
Otherwise, testing your new key is almost instantaneous on india.
For other clusters like Hotel, it can take
around 30 minutes to update the ssh keys.
To log into india simply type the usual ssh command such as:
$ ssh portalname@india.futuregrid.org
The first time you ssh into a machine you will see a message like this:
The authenticity of host 'india.futuregrid.org (149.165.148.5)' can't be established.
RSA key fingerprint is f8:96:15:b7:21:eb:64:92:6c:de:e0:79:f3:fb:86:dd.
Are you sure you want to continue connecting (yes/no)? yes
You have to type yes and press enter. Then you will be logging into
india. Other FutureGrid machines can be reached in the same
fashion. Just replace the name india, with the appropriate FG resource name.
After uploading your ssh key, it can take around 30 minutes to update
the ssh keys of Hotel. After this, if you are able to log into India, you have
properly set up your ssh key. So, after a while you will be able to log
onto Hotel.
If you placed the ssh key in the default location:
$ ssh -A portalname@hotel.futuregrid.org
Hint
 The presence of the -A argument above is required for Nimbus.
Hint
If you are asked for a password when trying to ssh onto
Hotel, do NOT type any password. This means that your ssh key is
not updated yet. You need to wait a bit more.